Webflow Setup Guide
Connect SEOmate with your Webflow site to publish content directly
TL;DR - Quick Setup Path
Connect with Webflow
→Login to your account
→Authorize SEOmate access
→Select site and collection
Complete OAuth authentication and configuration in under 2 minutes
Requirements
✓ Active Webflow account
✓ A Webflow site with CMS collections
✓ Site plan that supports CMS (required for content publishing)
Setup Steps
Step 1: Start Webflow Integration
The Webflow integration uses OAuth authentication, making it very simple to set up. No API keys or tokens needed!
Go to your SEOmate dashboard and navigate to Project Settings → Publishing Platforms.
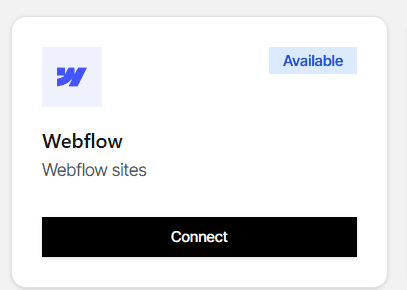
Click on Add Webflow Integration or Connect with Webflow button.
Step 2: Login to Webflow
You'll be redirected to Webflow's authentication page. Enter your Webflow account credentials.
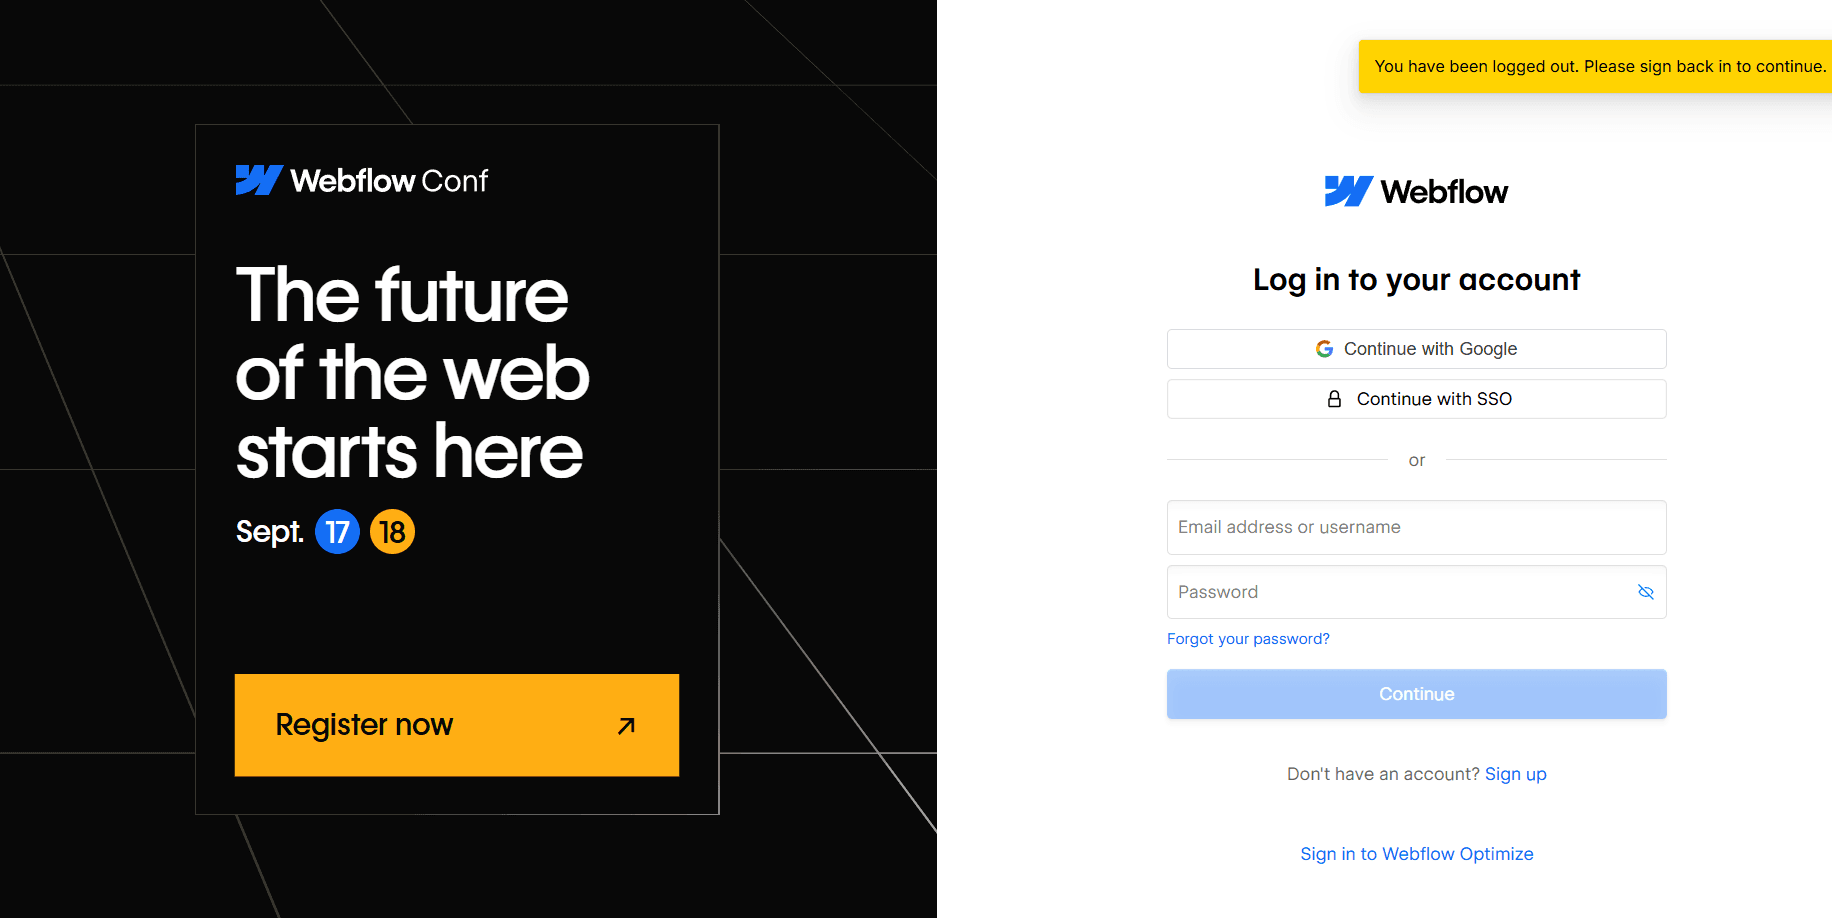
Login details:
- Use your regular Webflow email and password
- If you use Google/SSO login, use that method instead
- Make sure you're logging into the account that owns your target site
Step 3: Authorize SEOmate
After logging in, Webflow will ask you to authorize SEOmate to access your account.
Authorization permissions:
- Read sites: View your Webflow sites and collections
- Write CMS: Create and update CMS items
- Publish sites: Publish content to your live site
Click Authorize to grant these permissions.
Security note: SEOmate only requests the minimum permissions needed to publish content. You can revoke access anytime from your Webflow account settings.
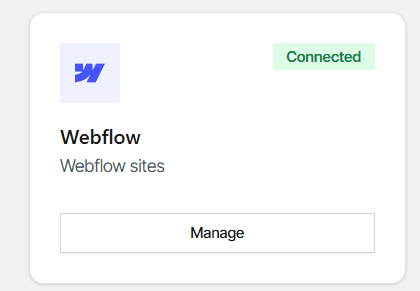
Step 4: Connection Successful
Once authorized, you'll be redirected back to SEOmate with a successful connection.
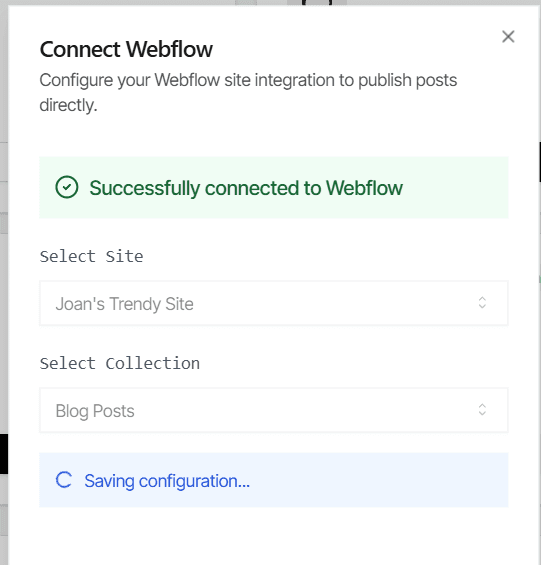
Next steps:
- Select your target Webflow site from the dropdown
- Choose the CMS collection where you want to publish content
- Configure field mapping (SEOmate will auto-detect most fields)
- Test the connection with a sample post
- Save your integration settings
Pro tip: SEOmate can automatically publish to your live site or save as drafts. Configure this in the publishing settings based on your workflow preferences.
Configuration Options
OAuth (automatic)
Live or DraftCMS Collections
Auto-detectedTroubleshooting FAQ
Authorization failed
Make sure you're using the correct Webflow account credentials. If you use SSO, make sure to use the same login method.
No sites showing up
Ensure your Webflow account has sites with CMS collections. Only sites with CMS capabilities will appear in the list.
Can't publish content
Check that your Webflow site plan supports CMS publishing. Basic plans may have limitations on CMS functionality.
Field mapping issues
Make sure your CMS collection has the required fields (title, content, slug, etc.). You can customize field mapping in the integration settings.
Connection expired
OAuth tokens can expire. Simply reconnect by going through the authorization flow again - no data will be lost.
Ready to connect Webflow?
Follow the simple OAuth flow above to connect your Webflow site and start publishing AI-generated content.